How to Prepare for Your Wedding Photo Shoot
Good wedding photography is 20% gear, 20% skill, and 60% preparation. The galleries we're proudest of almost always come from couples who walked into the day organized. The ones that give us heartburn come from couples who didn't.
Here's the nine-step prep checklist we send every couple before their wedding.
Quick answer
Preparing for your wedding photo shoot means building a detailed photography timeline with buffer, planning your wardrobe and accessories, finalizing hair and makeup with room to spare, sharing a short must-have photo list, prepping the getting-ready space, and briefing your wedding party on timing and etiquette. Everything else (weather, emergencies, must-haves) stacks on top. Nine steps total.
Step 1. Book a photographer you trust
This is the foundation. Without the right team, the rest of the prep won't save you.
Before booking:
- Review full wedding galleries (not just highlights)
- Confirm coverage hours and deliverables
- Ask about backup gear, weather contingency, and sick-day policy
- Interview on a real call
- Read the contract carefully
Our White Glove service includes timeline planning, which makes the rest of this list easier.
Step 2. Build a detailed photography timeline
The single biggest lever for great photos. A rushed timeline photographs rushed. A breathing timeline photographs easy.
Plan these blocks with buffer:
- Getting ready (2–3 hours — enough for candids and details)
- First look (15–30 minutes, if you're doing one)
- Couple portraits (45–60 minutes, not 20)
- Wedding party photos (20–30 minutes)
- Family photos (20–30 minutes, grouped by structure)
- Ceremony (whatever your officiant runs)
- Reception events (pre-planned timing for entrances, toasts, dances)
Build 15–20 minutes of buffer between each block. Things run over. Buffer keeps the photos from suffering.
Step 3. Plan your wardrobe and accessories
You've picked the dress or suit. Don't forget the details that matter on camera:
- Steam or press outfits ahead of time
- Pick comfortable shoes (and a backup pair for dancing)
- Avoid distracting logos on casual shots
- Stage accessories for detail shots — rings, cufflinks, veil, bouquet, invitation suite
- Have a backup outfit or robe for getting-ready
If you're doing a first look or pre-wedding session, coordinate outfits that complement each other without being too matched.
Step 4. Finalize hair and makeup early
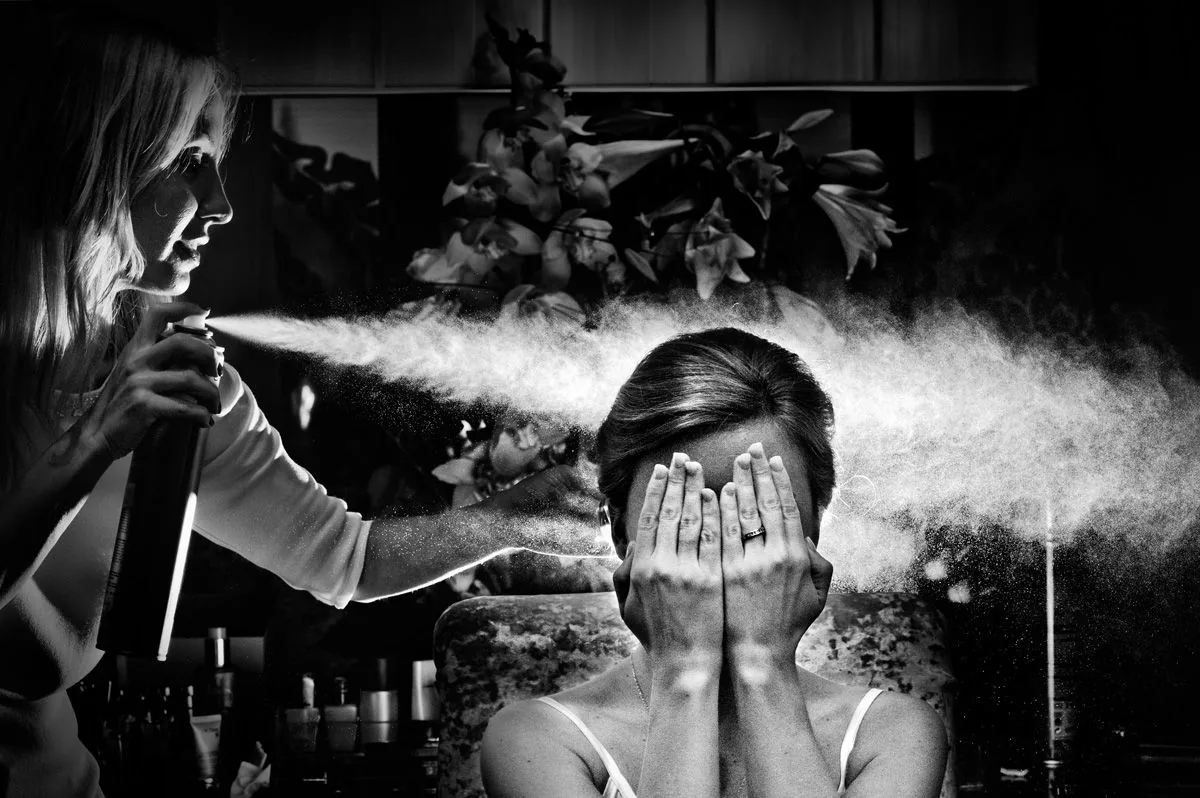
Hair and makeup are what make the getting-ready photos look polished. Plan:
- A trial run in advance (don't test on the wedding day)
- Morning timing with buffer — never run late on this
- Natural-light setting for the beauty prep
- Touch-up kit for the day — setting spray, blotting paper, powder
If HMU runs late, every subsequent block runs late. Protect this.
Step 5. Share a must-have photo list
Even with candid photography, a short shot list protects you from missing key frames. Include:
- Immediate family groupings (parents, siblings, grandparents)
- Cultural or traditional moments (hora, tea ceremony, jumping the broom)
- Special items (heirlooms, handwritten vows, rings, pet cameos)
- Surprise events (first dance, speeches, exit)
Keep the list to 15–20 items. More than that and the day starts feeling scripted instead of lived.
Step 6. Prep the getting-ready space
The room you get ready in photographs as part of your gallery. Make it camera-ready:
- Choose a bright, uncluttered room — ideally with large windows
- Move bags, food, and wedding clutter to a separate space
- Stage details (dress, shoes, rings, invitations, florals) in a clean area
- Coordinate robes or pajamas for the wedding party
- Keep the window side of the room open — no furniture blocking light
If your venue offers a bridal suite, scout it in advance. Hotel suites, Airbnbs, and bridal suites with natural light all work.
Step 7. Communicate with your wedding party
Your wedding party shapes the energy of the day. Brief them:
- When and where to show up for group photos
- What to wear and bring (outfit, accessories, shoes)
- No phones during key moments (ceremony, first dance, exit)
- Timing for pre-ceremony prep (early arrival if in the getting-ready photos)
A well-briefed wedding party makes transitions smoother and family photos faster.
Step 8. Plan for weather and location surprises
Every outdoor wedding needs a weather plan. Every indoor wedding needs an indoor contingency anyway (long family, reception disruptions). Discuss with your photographer:
- Indoor Plan B scouted before the day
- Rain kit (clear umbrellas, weatherproof makeup)
- Heat plan (morning or golden-hour portraits, cooling towels)
- Wind plan (secured veil, backup hairstyle, sheltered portrait spots)
Our team arrives with gear for any condition — but the timeline has to allow for contingency, too.
Step 9. Organize the final week
Avoid last-minute chaos:
- Send the final photo schedule to vendors, family, and wedding party
- Build an emergency kit (bobby pins, tissues, blotting paper, safety pins, bandages)
- Assign a timeline owner — a coordinator, MOH, or designated family member
- Have water and snacks ready throughout the day
- Sleep, hydrate, breathe
The couples who walk into their wedding day calm are the ones who did Step 9 the Wednesday before.
FAQ
Ready to start planning?
Start a conversation and we'll walk you through the timeline, the must-have list, and everything else on this checklist. White Glove coverage includes all of it.
Planning your wedding?
Get a personalized quote from our team