What's the first step in designing a wedding album after you get your photos back?
Edit and narrow your photos ruthlessly. From 1,000+ wedding day images, select 200–300 technically strong, well-composed, and emotionally meaningful shots. Most albums use 80–150 images, so edit down before design; don't try to include everything.
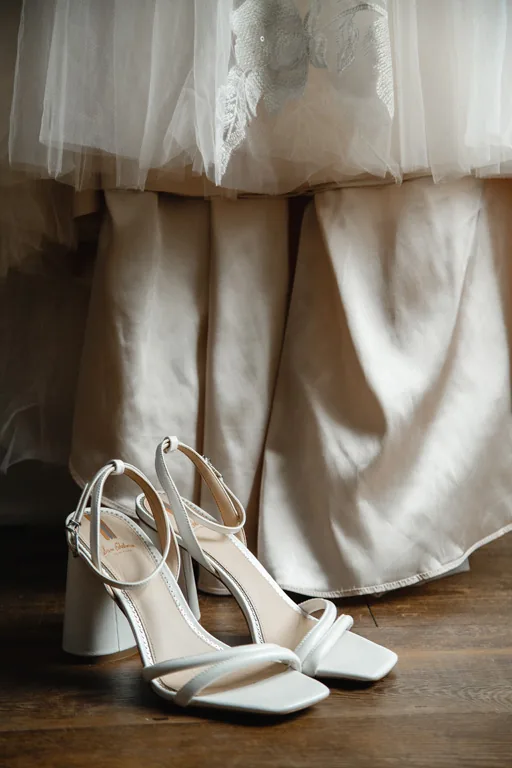
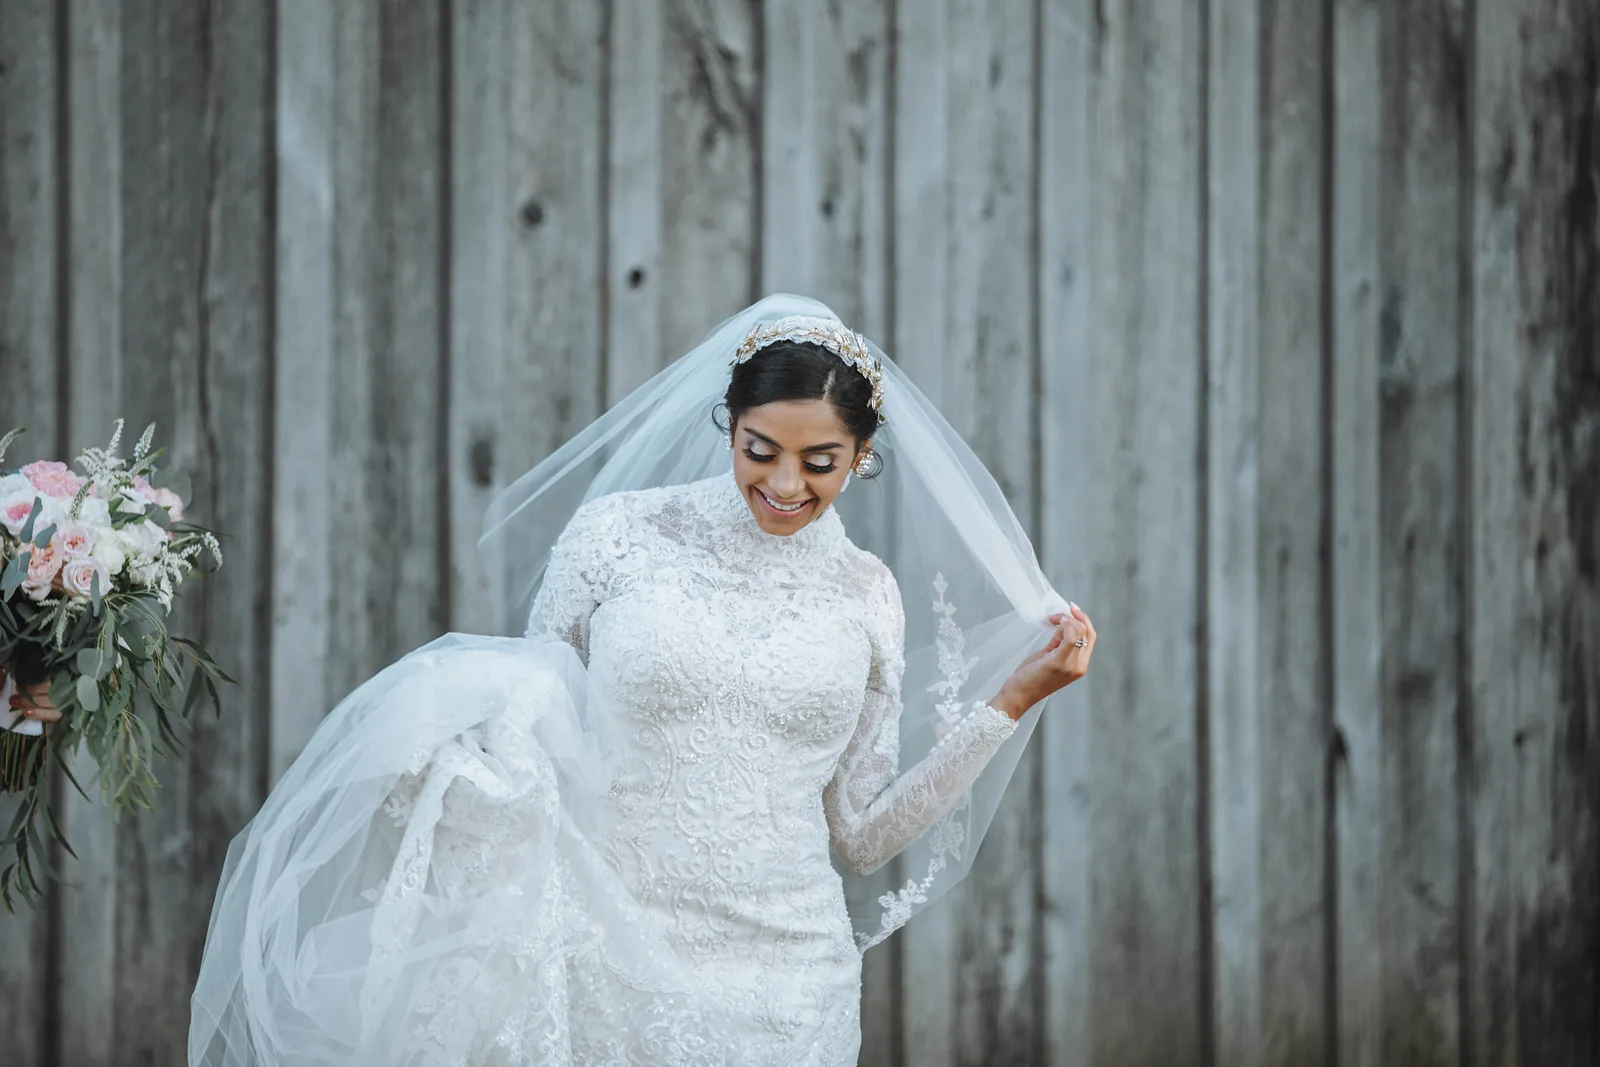
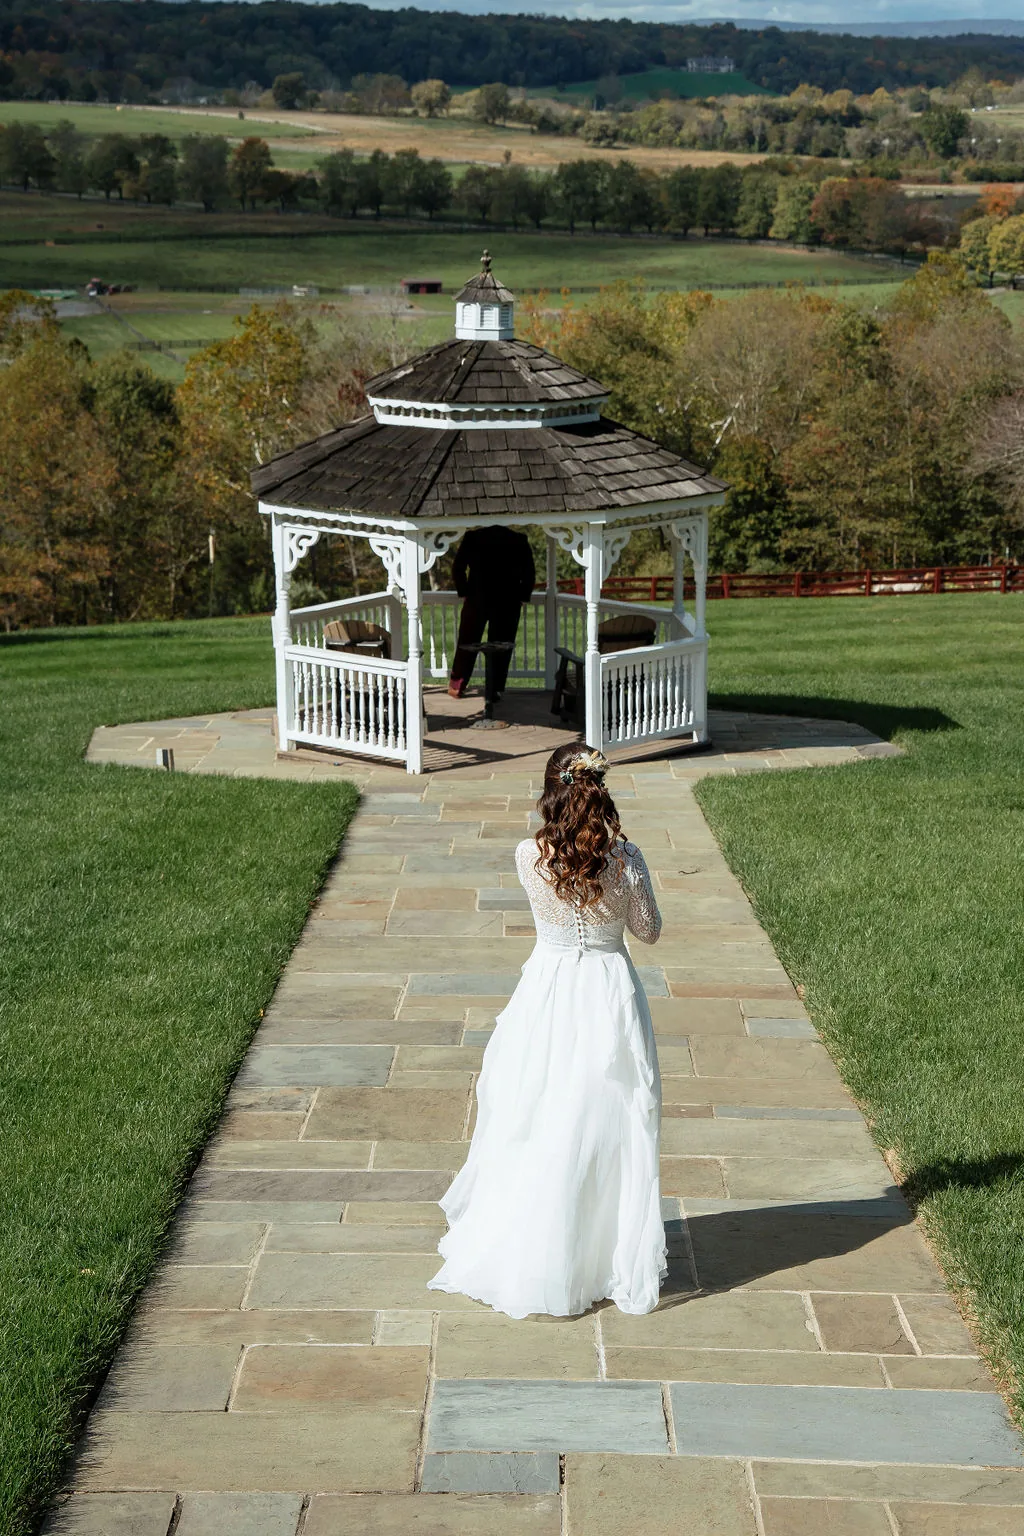
The edit step determines everything downstream. Go through all wedding-day photos and pull shots that are technically sharp, well-composed, and emotionally resonant. Color-grade them consistently. Delete blurry shots, harsh lighting failures, and images where someone has their eyes closed or is mid-sentence looking awkward. You're not being precious here, ruthless editing means a tighter, more meaningful album. From your edit set of 200–300 images, you'll then sequence and layout 80–150 in the actual album (depending on album size and your vision). Some photographers deliver albums pre-designed; others hand you the photos and expect you to layout yourself. If you're designing, work in chronological order (getting-ready → ceremony → portraits → reception → send-off) as a natural flow, then decide on pacing, maybe 3–4 pages of getting-ready, 2 pages of ceremony, 5–6 pages of portraits, etc. This prevents the album from feeling scattered.
How do you choose between a traditional printed album and a digital/online album?
Printed albums are tactile and last generations; digital albums are cheaper and easier to share. Most couples get both: a small printed album (8x10 or 10x12) for the coffee table, and a digital archive or online gallery for sharing and archiving.
Traditional printed albums (leather-bound, lay-flat) cost $1,500–$5,000 depending on size and quality; they feel heirloom-quality and you're not dependent on tech companies to keep them archived. Digital albums (Pixieset, SmugMug, or photographer-hosted galleries) cost $200–$500 and let you share easily with family; they're lower physical maintenance but dependent on the hosting service staying alive. Most couples do a hybrid: a printed album (maybe 10x10 or 12x12) with 120–150 carefully selected images for display and future generations, and a digital gallery with all 200–300 edited images for sharing with family. The printed album becomes your coffee-table book; the digital album is the archive. If budget is tight, a printed album matters more for longevity. If you want easy sharing with extended family, digital is worth it.
What's the ideal number of images per page, and how do you arrange them without looking like a scrapbook?
Aim for 2–4 images per spread. Large hero shots (full-page or full-spread) paired with smaller supporting images create visual balance. Avoid grid layouts with 9 tiny images per page; that reads as busy. One or two large images per page with supporting details feels sophisticated.
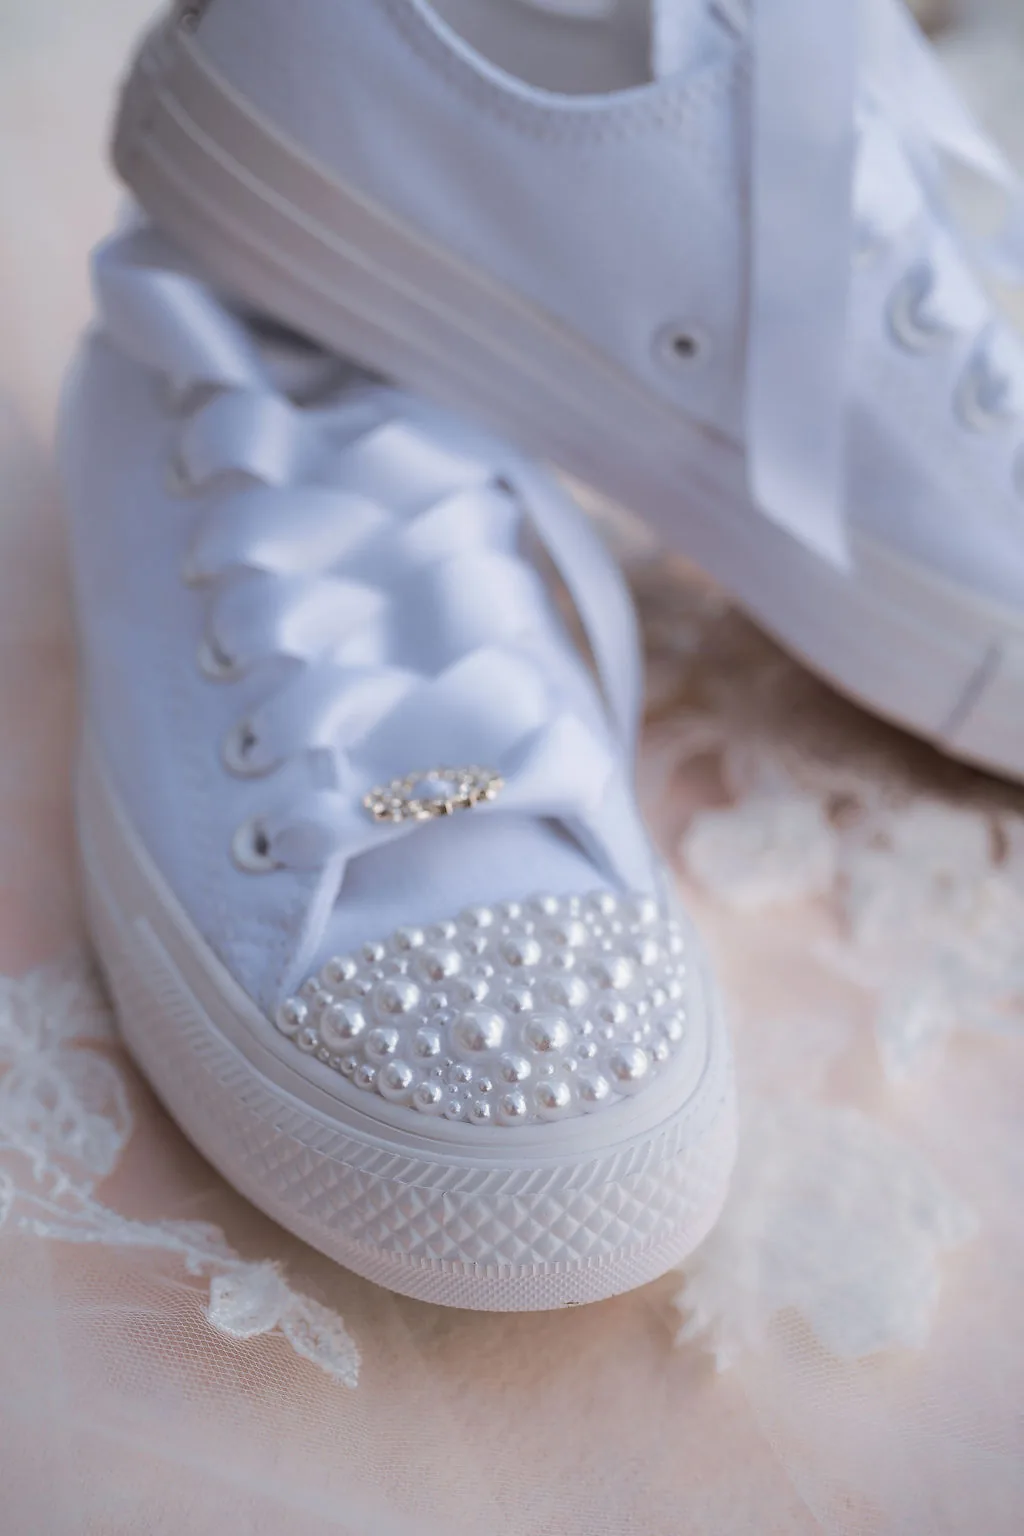
Professional wedding album design balances white space with imagery. A spread with one large hero image (a bride and groom portrait or a full-spread ceremony moment) and 1–2 smaller supporting images (details, reactions) feels intentional. A grid of 6–9 tiny images per spread feels scrapbook-like and dated. The rhythm that works: vary spread density, a full-spread portrait image, then a 2-image narrative spread, then a grid of 4 detail shots, creates visual interest. Leave substantial white space and margin; don't cram the page. If you're using a designer or album-design software (most photographers' websites include layout templates), look for designs with 1–2 dominant images per spread and supporting details, avoid template options with excessive small photos. The goal is telling the story without overwhelming visually.
How do you handle the difficult choice of which images to exclude from a limited-page album?
Prioritize emotionally resonant moments over technical perfection. A slightly soft photo of you kissing your partner beats a technically perfect but stiff formal portrait. Cut duplicate poses (multiple versions of the same moment) ruthlessly; keep only the best one.
Album space is finite. If you have 200 edited images and 120 album spots, 80 images won't make the cut. Criteria for inclusion: emotional content first (does the image tell the story?), technical quality second (is it sharp and well-lit?). If you have 5 photos of the first dance, pick the one with the best emotion and light; cut the other 4. If you have a stunning detail shot and a mediocre couple portrait, include the detail if it's better executed. Skip backup shots (multiple versions of the same moment taken consecutively) unless there's a meaningful difference. Most couples regret including too many images and not enough white space. Fewer, more thoughtful images make a stronger album than cramming everything in. If you love an image but it doesn't fit the narrative flow, save it for a future album or photo book.
Should wedding albums include supplier credits (photographer, florist, vendors) or does that feel dated?
A clean photo album without supplier credits looks more timeless. Vendor info can live in a separate printed insert or on your digital gallery page. Some couples add a photographer credit subtly (initials or name on the back cover); most skip vendor credits entirely.
Album credits were common in older designs but feel dated now. A 1980s-style 'Photography by John Smith | Florals by Garden Party' printed on pages dates the album instantly. Modern albums emphasize the imagery, not the supply chain. If you want to credit your photographer, include their name on the back cover or inside front cover in small text; that's elegant and respectful without interrupting the visual story. Vendor credits (florist, caterer, DJ) belonged in wedding programs, not albums. Some couples do a separate printed vendor list or include it in a photo book's back pages, but it's not standard for the primary album. The focus should be on your story, not the commerce behind it. If your photographer designed the album, their credit is implicit; you hired them for the design, not just the photos.
How do you decide between a storybook flow versus a chronological structure for your album?
Chronological (getting-ready → ceremony → reception) flows naturally and feels most familiar. A 'storybook' approach (thematic sections: love, celebration, family) is more artistic but requires confident editing. For most couples, chronological is timeless; storybook can feel trendy and date faster.
Chronological albums follow the wedding day's timeline, which feels intuitive and easy to follow. This structure is timeless and works for any couple and wedding style. A 'storybook' or thematic structure groups images by mood or theme (opening with details and florals, then moving to emotion, then celebration, then family moments) and can be beautiful and artistic. It requires excellent editing to work, every section needs a clear theme and strong images. Storybook structures often read as trendy when the trend changes; chronological albums age better. If you're unsure, go chronological. You can always add thematic touches within sections (a detail-focused spread, an emotion-focused spread) without restructuring the whole album. Most professional wedding albums use chronological flow with intentional pacing and design choices, that's the safe, timeless choice.